-
Hold the CM5-BOOT button, then plug in the USB-C cable (one end into the device and the other into your PC).

-
If connected correctly, you should see the red LED turn on. Now follow the steps here to enable
rpiboot. -
Once
rpibootruns successfully, your PC might prompt that a new device has been recognized — you can ignore that for now. Open Raspberry Pi Imager and flash our provided image onto the device. -
When prompted to customize the image:
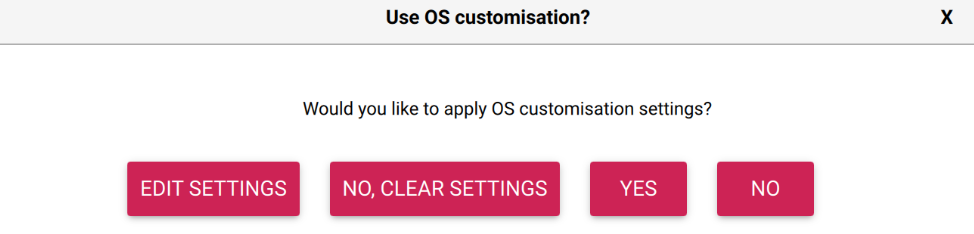
- Set a username and password (use whatever you prefer, but make sure to save them — the default we use is:
distiller/one) - Enter your Wi-Fi name and password if you want the device to auto-connect to your network. This will also let you see the IP address for SSH access after boot.
- Enable SSH
- Set a username and password (use whatever you prefer, but make sure to save them — the default we use is:
- Now flash the image and wait for the process to complete.
How to Mount SD Card
Once SD card inserted, follow the steps below : If you run:/dev/mmcblk1p1 and it’s formatted as FAT32 or ext4, mount it with:
1. Find the device’s UUID
Run:/dev/mmcblk1p1) and copy its UUID.
2. **Edit **/etc/fstab
Open the file:
YOUR_UUID_HERE with the actual UUID from step 1.
The nofail option ensures your system still boots even if the SD card is not inserted.
3. Create the mount directory (if not already created)
4. Test it works
You can test thefstab entry without rebooting: